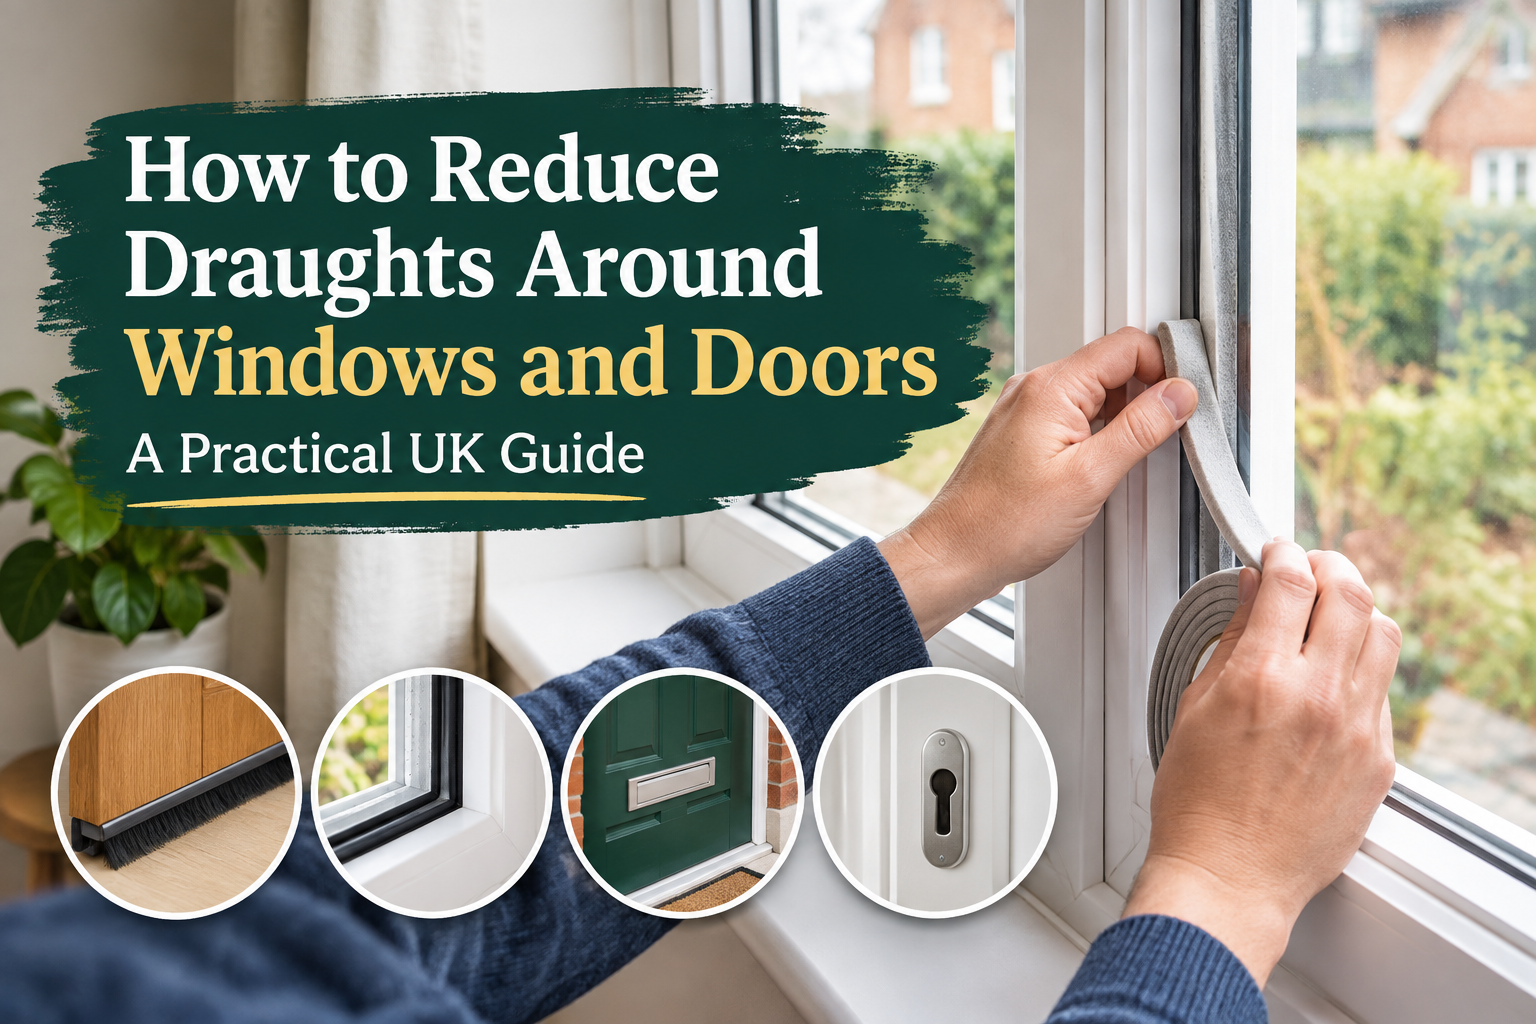
A cold draught around a window or door can make an otherwise warm room feel uncomfortable. It can also mean your heating has to work harder to maintain a comfortable temperature.
The good news is that you don’t necessarily need new windows or an expensive home improvement project. Small gaps around opening windows, external doors, letterboxes and frames can often be dealt with using relatively simple draught-proofing measures.
The important part is to find the source of the draught first. Using the wrong seal or blocking an area that is supposed to provide ventilation can create new problems.
This guide explains how to identify draughts and what you can do about them, including advice for older UK homes and sash windows.
First, Find Where the Draught Is Coming From
Before buying draught-proofing materials, spend a few minutes finding the actual source.
On a cold or windy day, slowly move your hand around the edges of closed windows and external doors. You may be able to feel cold air entering through a small gap.
Other clues include:
- A visible gap around the frame
- Curtains moving when the window is closed
- A whistling or rattling sound in windy weather
- Cold air around the bottom of an external door
- A noticeable chill around a letterbox
- Cracked or deteriorated sealant
- Worn rubber or brush seals
- A window or door that no longer closes tightly
Don’t automatically seal every gap you find, though. Some openings are intentional and are needed to ventilate the home.
How to Reduce Draughts Around Windows
The best solution depends on the type of window and where the air is getting through.
1. Fit Draught-Proofing Strips to Opening Windows
For many opening windows, draught-proofing strips are one of the simplest solutions.
Self-adhesive foam strips are inexpensive and easy to install. Metal or plastic strips with brushes or flexible wipers tend to be more durable.
The basic process is:
- Close the window and identify the gap.
- Clean and dry the surface where the strip will be fitted.
- Measure the required length.
- Choose a strip suitable for the size of the gap.
- Apply the strip to the appropriate part of the frame.
- Close the window carefully to check that it still shuts and locks correctly.
The thickness matters.
A strip that is too thin may leave a gap, while one that is too thick can make the window difficult to close or prevent it from locking properly.
2. Replace Worn Window Seals
Modern windows may already have rubber or other types of seals around the opening sections.
If these seals have become damaged, brittle, compressed or detached, replacing the seal may be more effective than simply adding another layer of foam tape.
Before replacing one, check what type of seal your window uses. Different window systems use different profiles, so buying a replacement that looks similar is not necessarily enough.
If the window is difficult to close because the frame has warped or the locking mechanism is damaged, replacing the seal alone may not solve the problem.
3. Seal Gaps Around a Fixed Window Frame
Sometimes the draught isn’t coming through the opening part of the window at all.
It may be coming from a gap between the frame and the surrounding wall or from deteriorated sealant.
For a fixed, non-opening gap, an appropriate flexible sealant can be used to close the unwanted air path.
However, don’t use sealant to block a window’s intentional ventilation openings.
What About Draughty Sash Windows?
Older UK homes can present a different challenge.
Traditional sliding sash windows move vertically, so ordinary foam strips aren’t always the best solution. Brush strips can be more suitable because they allow the window to continue moving while reducing unwanted airflow.
If you have an older timber sash window, check:
- The meeting rails
- The edges of the moving sashes
- Brush seals
- Gaps caused by movement or shrinkage
- Damaged timber
- The condition of the surrounding frame
Don’t assume that replacing the whole window is the only answer. Depending on its condition, an older window may be improved with appropriate draught-proofing or secondary glazing.
For listed buildings and other properties with special restrictions, specialist advice may be appropriate before making changes.
How to Reduce Draughts Around External Doors
External doors are another common source of unwanted cold air.
Rather than treating the whole door as one problem, check the top, sides, bottom, letterbox and keyhole separately.

1. Seal Gaps Around the Sides and Top
If there is a visible gap between the closed door and its frame, a suitable foam, brush or wiper seal can help.
The seal should compress or flex when the door closes without making it difficult to shut.
After fitting it, test the door several times.
It should:
- Close normally
- Latch properly
- Lock without excessive force
- Have no obvious remaining gap
If the door suddenly needs to be forced shut, the seal may be too thick or incorrectly positioned.
2. Fit a Door Draught Excluder
The gap underneath an external door can allow a noticeable amount of cold air into a room.
A brush or hinged-flap draught excluder can be fitted along the bottom of the door.
Measure the width of the door before buying one.
The strip should make contact with the threshold sufficiently to reduce the draught without dragging heavily across the floor every time the door opens.
3. Check the Letterbox
A letterbox creates an opening directly through an external door.
If you can feel cold air around it, check whether the flap and seals are working properly.
A suitable letterbox flap or brush can reduce unwanted airflow. Measure the existing letterbox before purchasing a replacement or cover.
4. Don’t Forget the Keyhole
Older external doors may also allow some air through the keyhole.
A purpose-made keyhole cover can help reduce this small source of draught.
It is a minor fix, but if you are already working on the door, it makes sense to check it.
A Simple Way to Choose the Right Draught-Proofing Material
| Problem | Possible solution |
|---|---|
| Small gap around an opening window | Foam or suitable weather-seal strip |
| Worn window seal | Replacement seal matched to the window |
| Sliding sash window | Brush seal or specialist draught-proofing |
| Gap around a fixed frame | Appropriate flexible sealant |
| Gap around external door | Foam, brush or wiper seal |
| Gap under external door | Brush or hinged-flap draught excluder |
| Draught through letterbox | Letterbox flap or brush |
| Draught through keyhole | Keyhole cover |
The key is to match the material to the movement and size of the gap, rather than simply using the strongest sealant or thickest tape available.
Don’t Block Ventilation by Mistake
This is one of the most important points when draught-proofing a UK home.
The objective is to eliminate unwanted draughts, not to make the property completely airtight.
Don’t block ventilation features such as trickle vents, wall vents, underfloor grilles or airbricks. Ventilation helps remove moisture and indoor pollutants and is particularly important in kitchens and bathrooms.
Extra care is also needed around appliances that require a supply of air for safe operation.
Never seal a fixed ventilation opening simply because you can feel cold air coming through it.
If you’re unsure whether an opening is intentional, find out what it is for before sealing it.
What About Condensation After Draught-Proofing?
If you reduce uncontrolled airflow, it becomes even more important to maintain appropriate ventilation.
Cooking, showering, drying clothes and even normal breathing add moisture to indoor air. Without adequate ventilation, that moisture can contribute to condensation and damp problems.
This doesn’t mean you should leave obvious draughts around your windows and doors.
Instead, aim for a sensible balance:
Seal accidental gaps while keeping designed ventilation pathways working.
Homes that are already fairly well draught-proofed can need particular attention to ventilation if further gaps are sealed.
Should You Use Thermal Curtains?
Thermal or heavy curtains can make a window area feel warmer, particularly in the evening.
However, curtains don’t actually repair the source of a draught.
If cold air is coming through a gap around the frame, the more effective approach is to address that gap first.
Curtains can then be used as an additional measure to improve comfort and reduce the cold feeling near the glass.
This is especially useful with older single-glazed windows where draught-proofing alone cannot address all of the heat loss.
When Draught Proofing Isn’t Enough
Sometimes a draught is a symptom of a larger problem.
Consider getting professional advice if:
- A window frame is badly warped
- Timber is rotten or seriously damaged
- A door no longer fits its frame correctly
- The locking mechanism doesn’t pull the door or window tightly closed
- There are large gaps around the frame
- Water is getting in around the window
- Several windows have serious seal failures
- You have an older or unusual window that you’re unsure how to modify
- The property has listed-building or conservation restrictions
- You’re unsure about ventilation or combustion appliances
Replacing windows or doors can improve energy efficiency, but it shouldn’t automatically be the first response to a relatively small draught.
If you’re considering new windows or doors, use reputable installers and compare several quotations rather than choosing the first option.
Common Draught Proofing Mistakes to Avoid
Using a Seal That’s Too Thick
If a window or door becomes difficult to close after fitting a seal, don’t force it. The material may be too thick or incorrectly positioned.
Sealing Before Finding the Source
Adding sealant everywhere can waste time and make future repairs more difficult.
Find the exact air path first.
Using the Same Material Everywhere
A sash window, a fixed window frame and the bottom of an external door all move differently. They don’t necessarily need the same type of draught-proofing.
Blocking Ventilation
Don’t seal trickle vents, airbricks or other intentional ventilation openings just because they feel cold.
Assuming Draughts Always Mean Replacement Windows
A worn seal or small frame gap may be repairable without replacing the entire window.
A Practical Draught Proofing Checklist
Before you finish, check each external window and door:
- Can you identify where the draught is coming from?
- Are the opening seals intact?
- Are there gaps around the frame?
- Does the window or door close properly?
- Does the lock still operate normally?
- Is the seal the correct size?
- Have you checked the bottom of external doors?
- Have you checked letterboxes?
- Have you checked keyholes on older doors?
- Have you left trickle vents and required ventilation openings clear?
- Have you checked for damaged or rotten frames?
- Have you considered professional help where DIY isn’t appropriate?
How Much Can Draught Proofing Save?
The amount saved depends on the property, the existing condition of the windows and doors, the size of the gaps and how much heating is being used.
Energy Saving Trust’s guidance indicates that draught-proofing around windows, floors and doors can reduce energy use and heating costs, although the actual saving varies considerably between homes.
The financial benefit isn’t the only reason to do it.
Reducing unwanted draughts can make rooms feel more comfortable and can reduce the amount of heating needed to maintain a comfortable temperature.
For homes with significant heat loss elsewhere, however, larger measures such as loft, wall or floor insulation may have a greater impact.
Frequently Asked Questions
What is the easiest way to stop draughts around windows?
For many opening windows, correctly sized draught-proofing strips are a simple starting point. If the draught is coming from a fixed gap around the frame, an appropriate flexible sealant may be more suitable.
How do I stop cold air coming through a front door?
Check the sides and top of the door, the gap underneath, the letterbox and the keyhole. External-door seals, a bottom draught excluder, a suitable letterbox flap and a keyhole cover can address different sources of unwanted airflow.
Are foam draught-proofing strips any good?
They can work well for suitable small gaps around opening windows and doors. However, the strip needs to be the correct size. If it is too thick, the window or door may not close properly; if it is too thin, it may not seal the gap.
Can you draught-proof sash windows?
Yes. Sliding sash windows generally need a solution that accommodates their movement. Brush strips can be suitable, while older or delicate sash windows may benefit from specialist advice.
Should I seal my trickle vents?
No. Trickle vents are designed to provide controlled ventilation. Blocking them can reduce ventilation and contribute to indoor-air-quality and moisture problems.
Do draughty windows need to be replaced?
Not necessarily. A damaged seal, small gap or deteriorated sealant may be repairable. Replacement becomes more relevant when the window itself is badly damaged, warped, difficult to operate or otherwise reaching the end of its useful life.
Is draught-proofing worth doing in an old UK house?
It can be particularly useful in older properties because older windows and doors may have more gaps and less effective seals. However, older buildings also need careful consideration of ventilation and traditional construction methods. If you’re unsure, professional advice is sensible.
Final Thoughts
Reducing draughts around windows and doors doesn’t have to mean replacing everything.
Start by finding exactly where cold air is entering. Then choose a solution suited to the particular gap: draught-proofing strips for suitable opening windows, brush seals for sliding sash windows, flexible sealant for appropriate fixed gaps, and brush or hinged-flap excluders for the bottom of external doors.
Most importantly, don’t seal intentional ventilation openings. A comfortable home needs to keep unwanted draughts out while still allowing controlled ventilation.
For many UK homes, a careful afternoon of small repairs can make rooms noticeably more comfortable without the expense of major window or door replacement.
